

Hey Folks, In this blog let us understand how to create a Jenkins job. In this job, we will be printing "Hello World" text.
Creating a Jenkins Job
Here I am selecting a freestyle job that is most commonly used and easy to understand as a beginner.
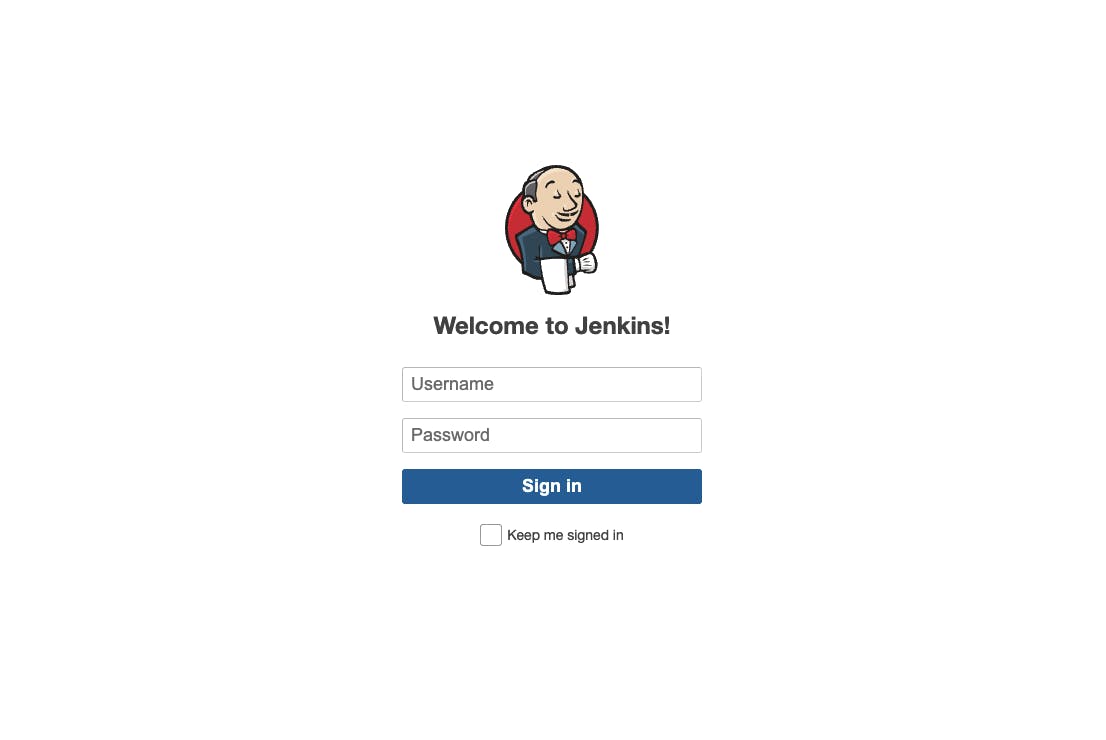
Log in to your Jenkins by entering your Jenkins IP http://ip:8080/login
- Enter your credentials and click on Sign In
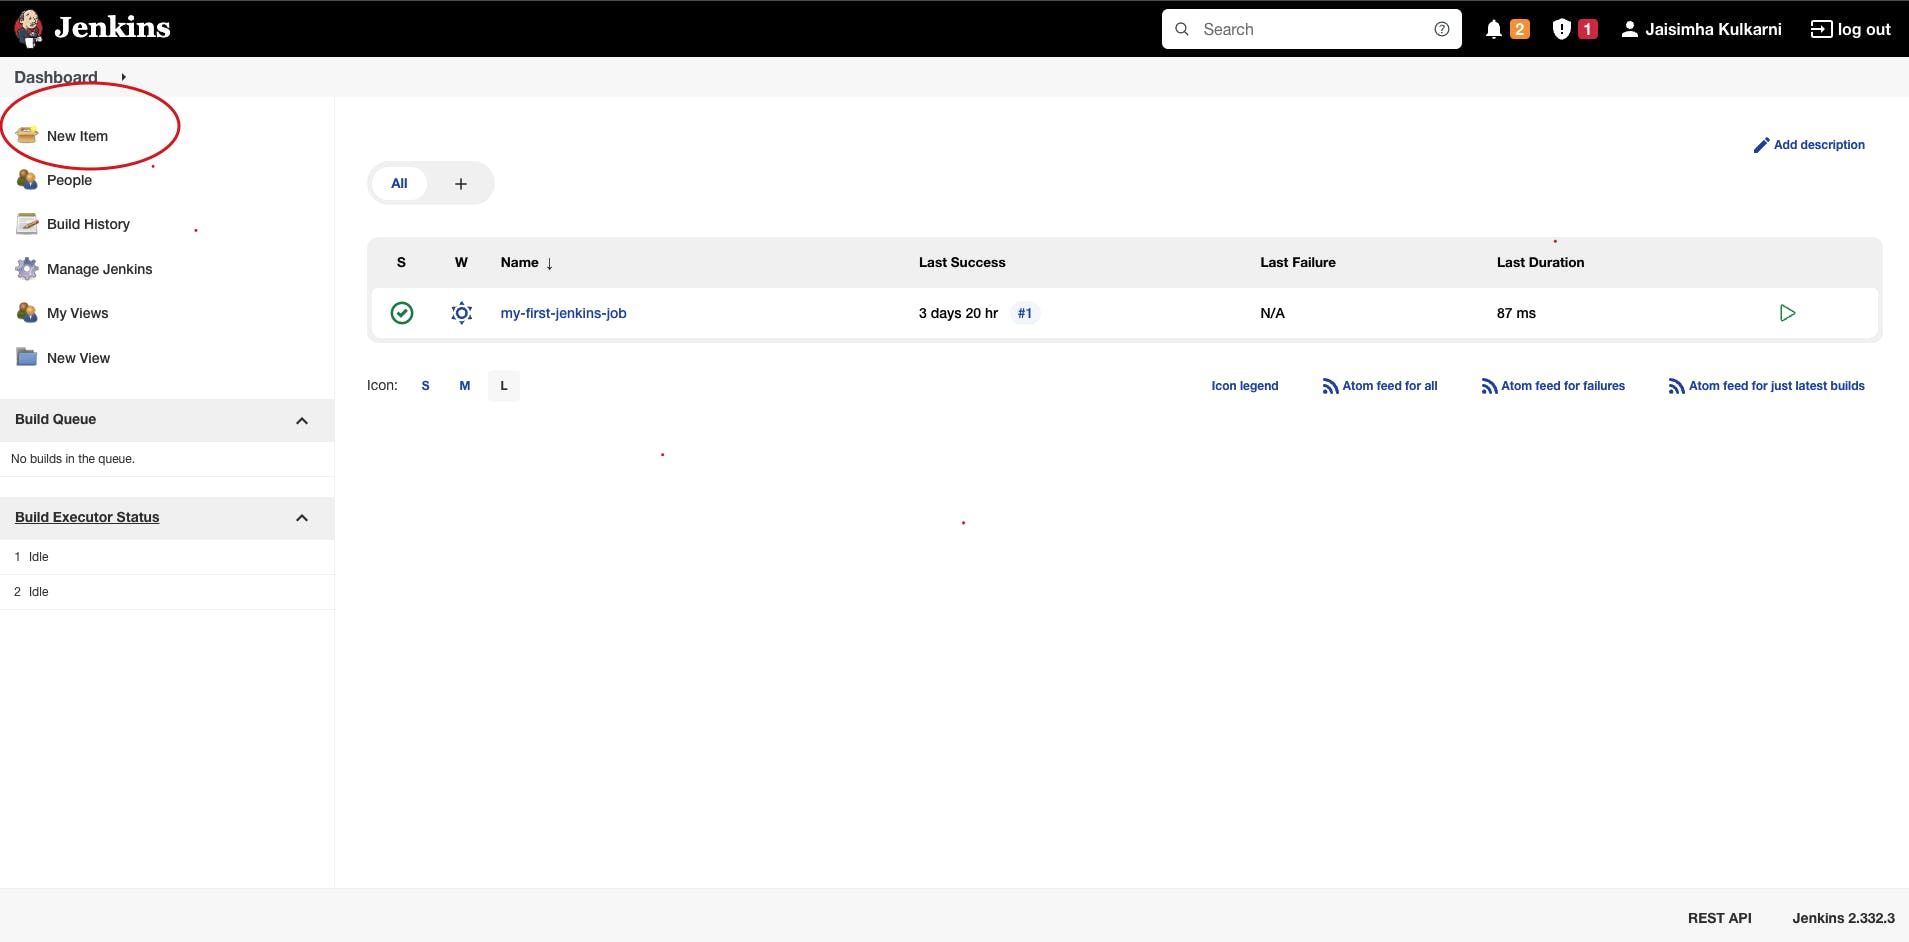
- This is how the Jenkins Dashboard looks, Click on New Item to create the first job
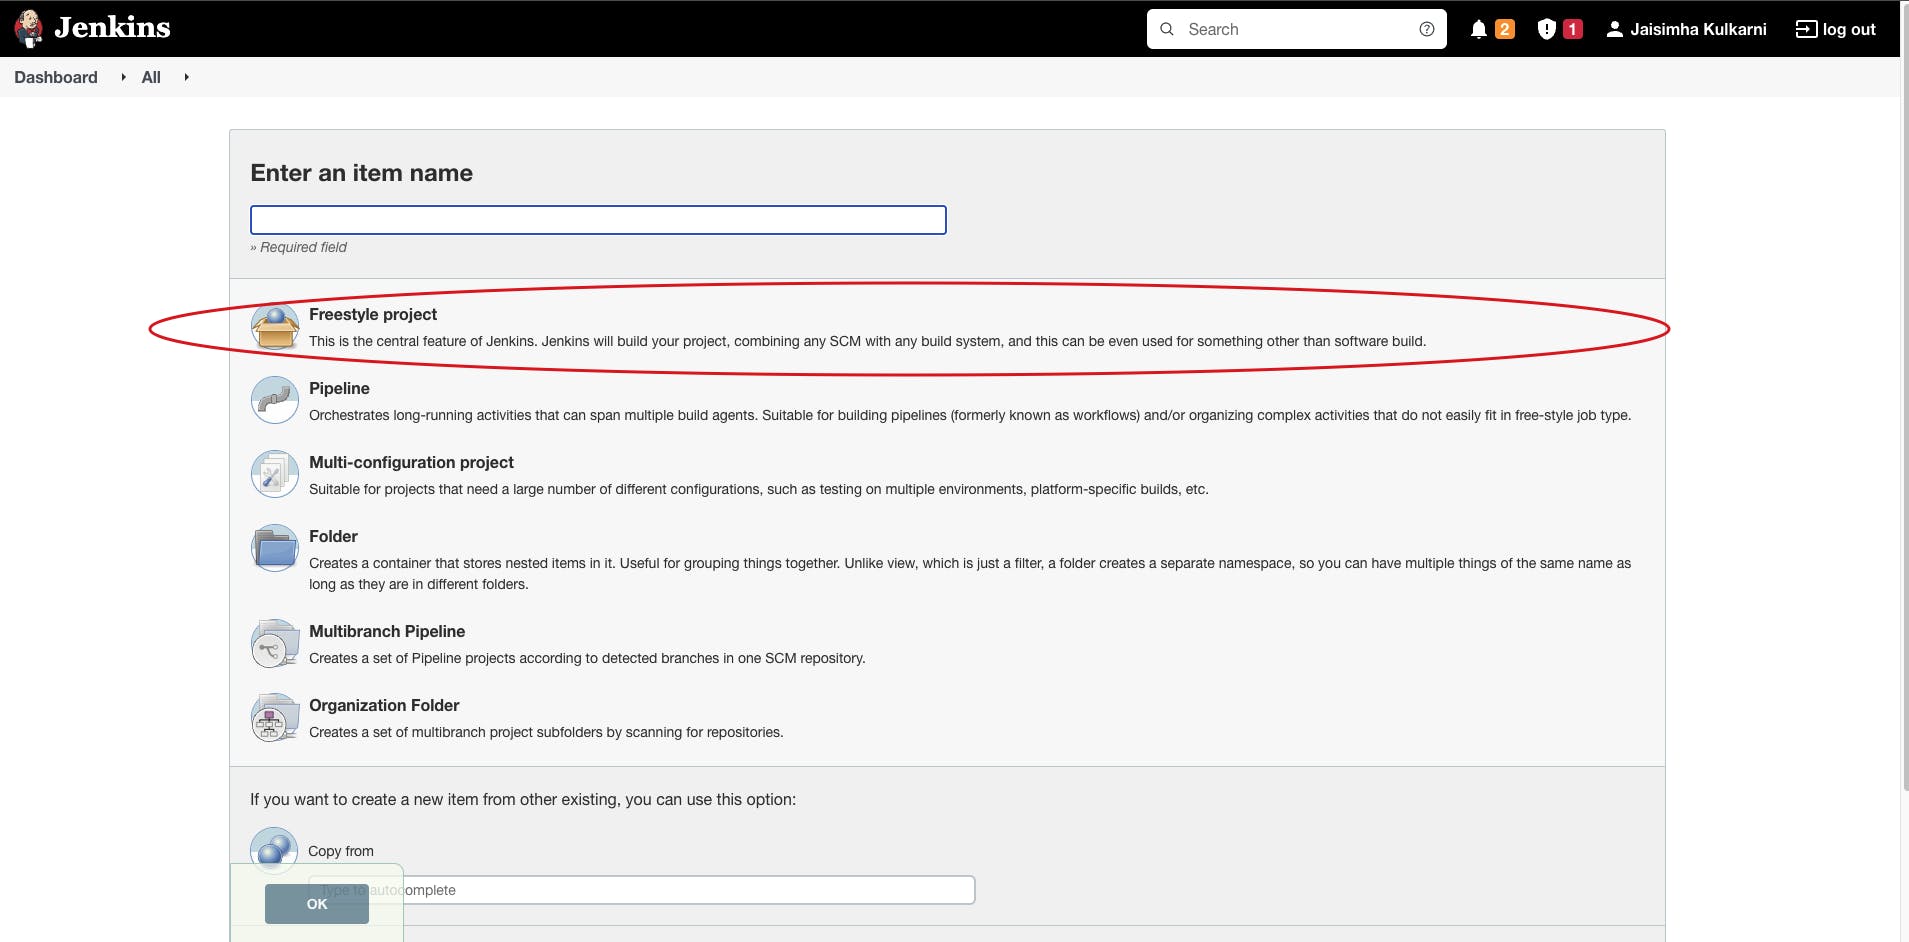
- Enter the Item Name and Select the Job Type as Freestyle project and click on OK
Configuring Jenkins Job
- Once you are done creating a job you are redirected to the Configuration page.
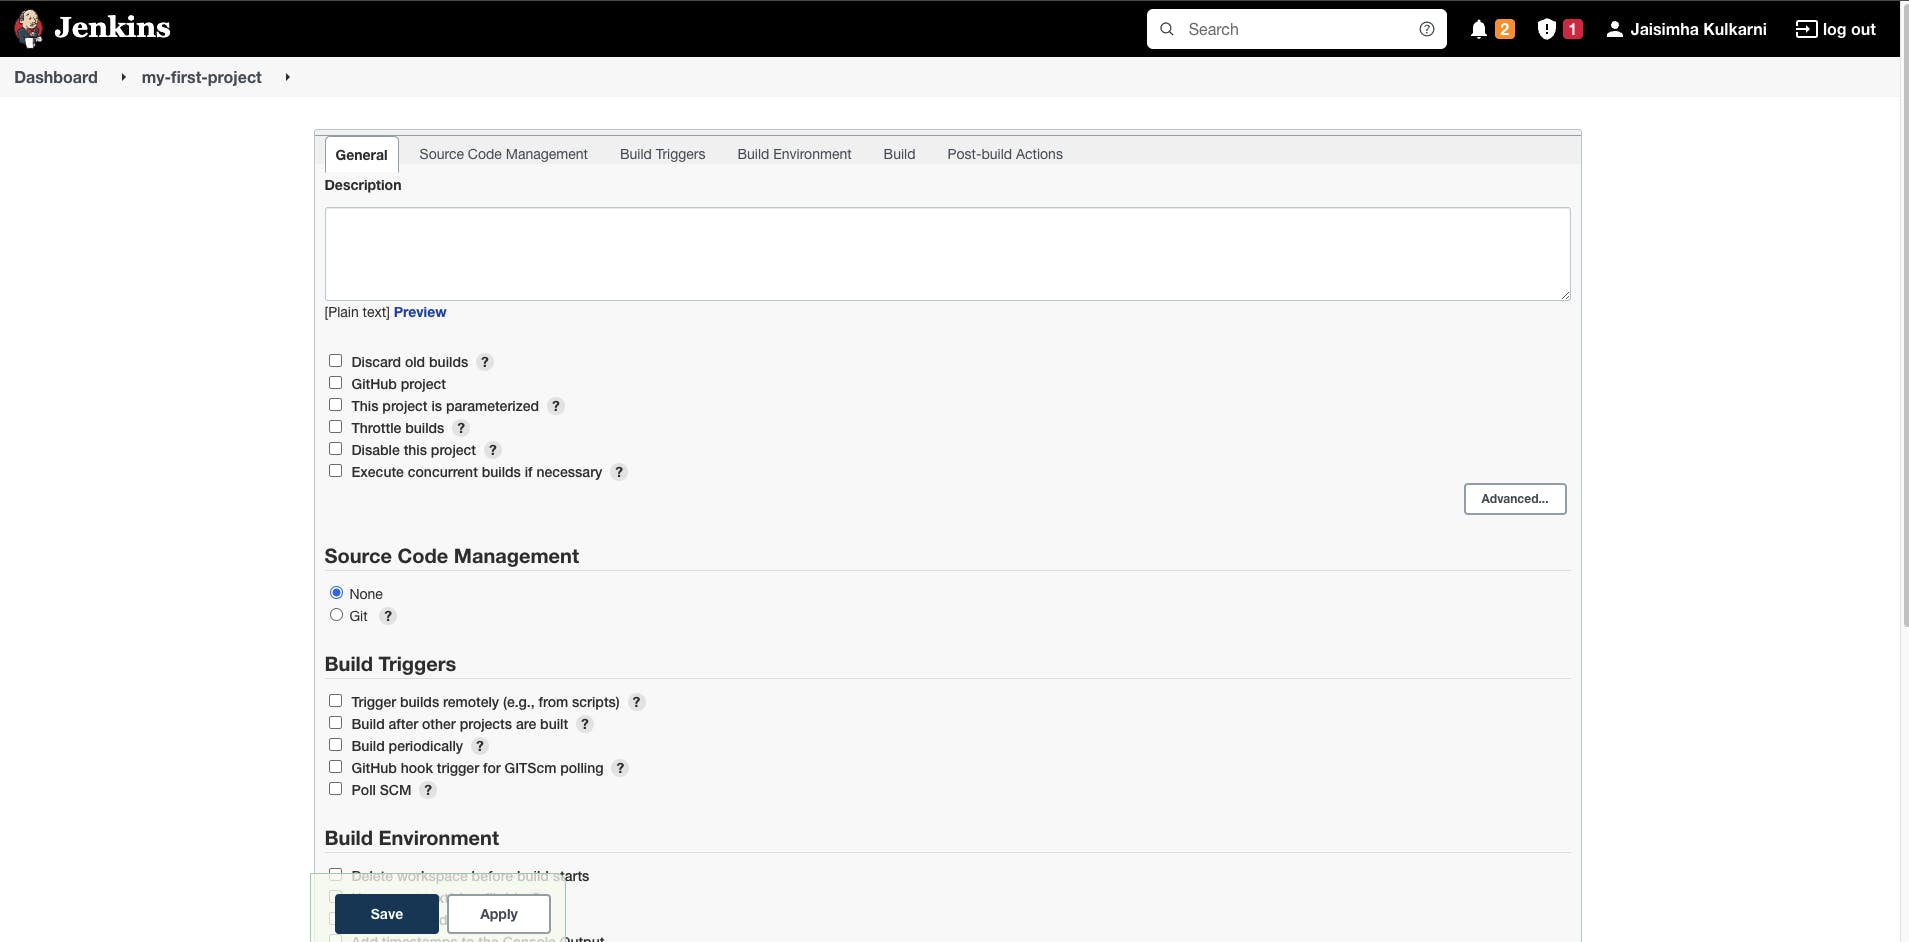
- Enter the description of your job this is an optional field where you describe what is this job doing
Apart from this we directly jump to configure Build part as part of this tutorial
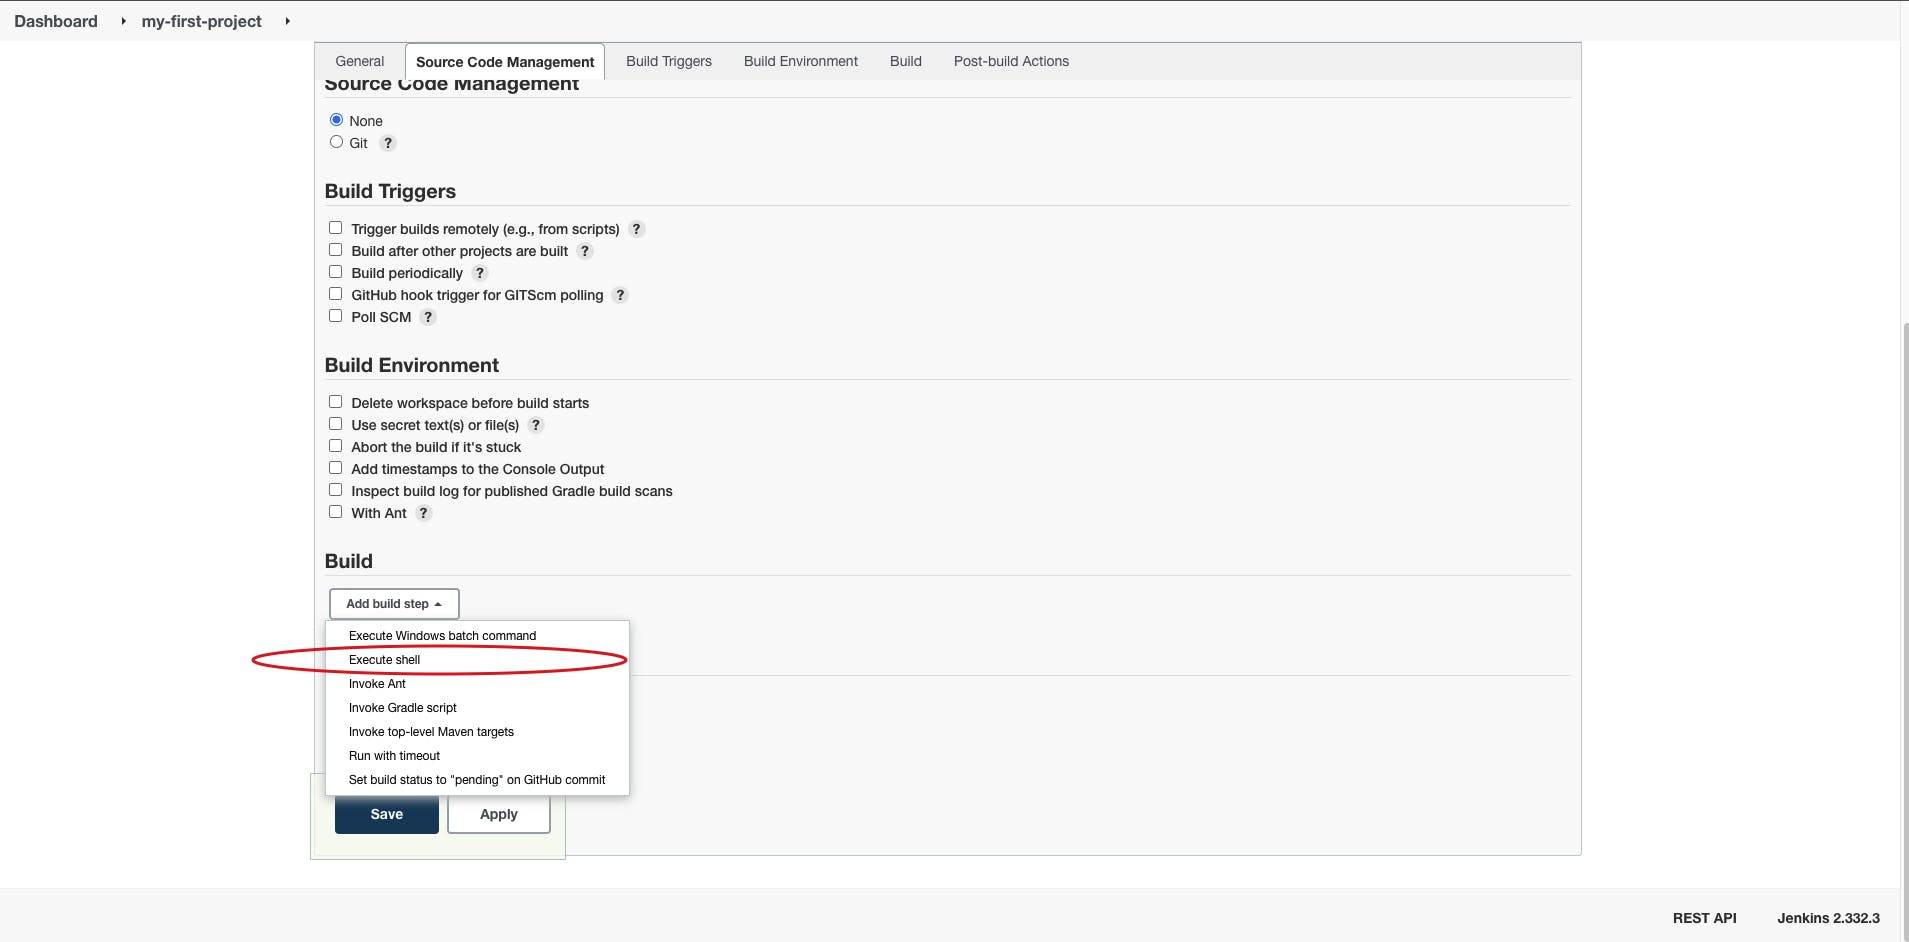
Click on Add build stepand select Execute shell .
We are selecting Execute shell as we are running a shell script. There are multiple options in the build step which we will see in the next tutorials
- As part of this Job we will print Hello World in the console. Let's add a small script to print text in the Command box and click on Save
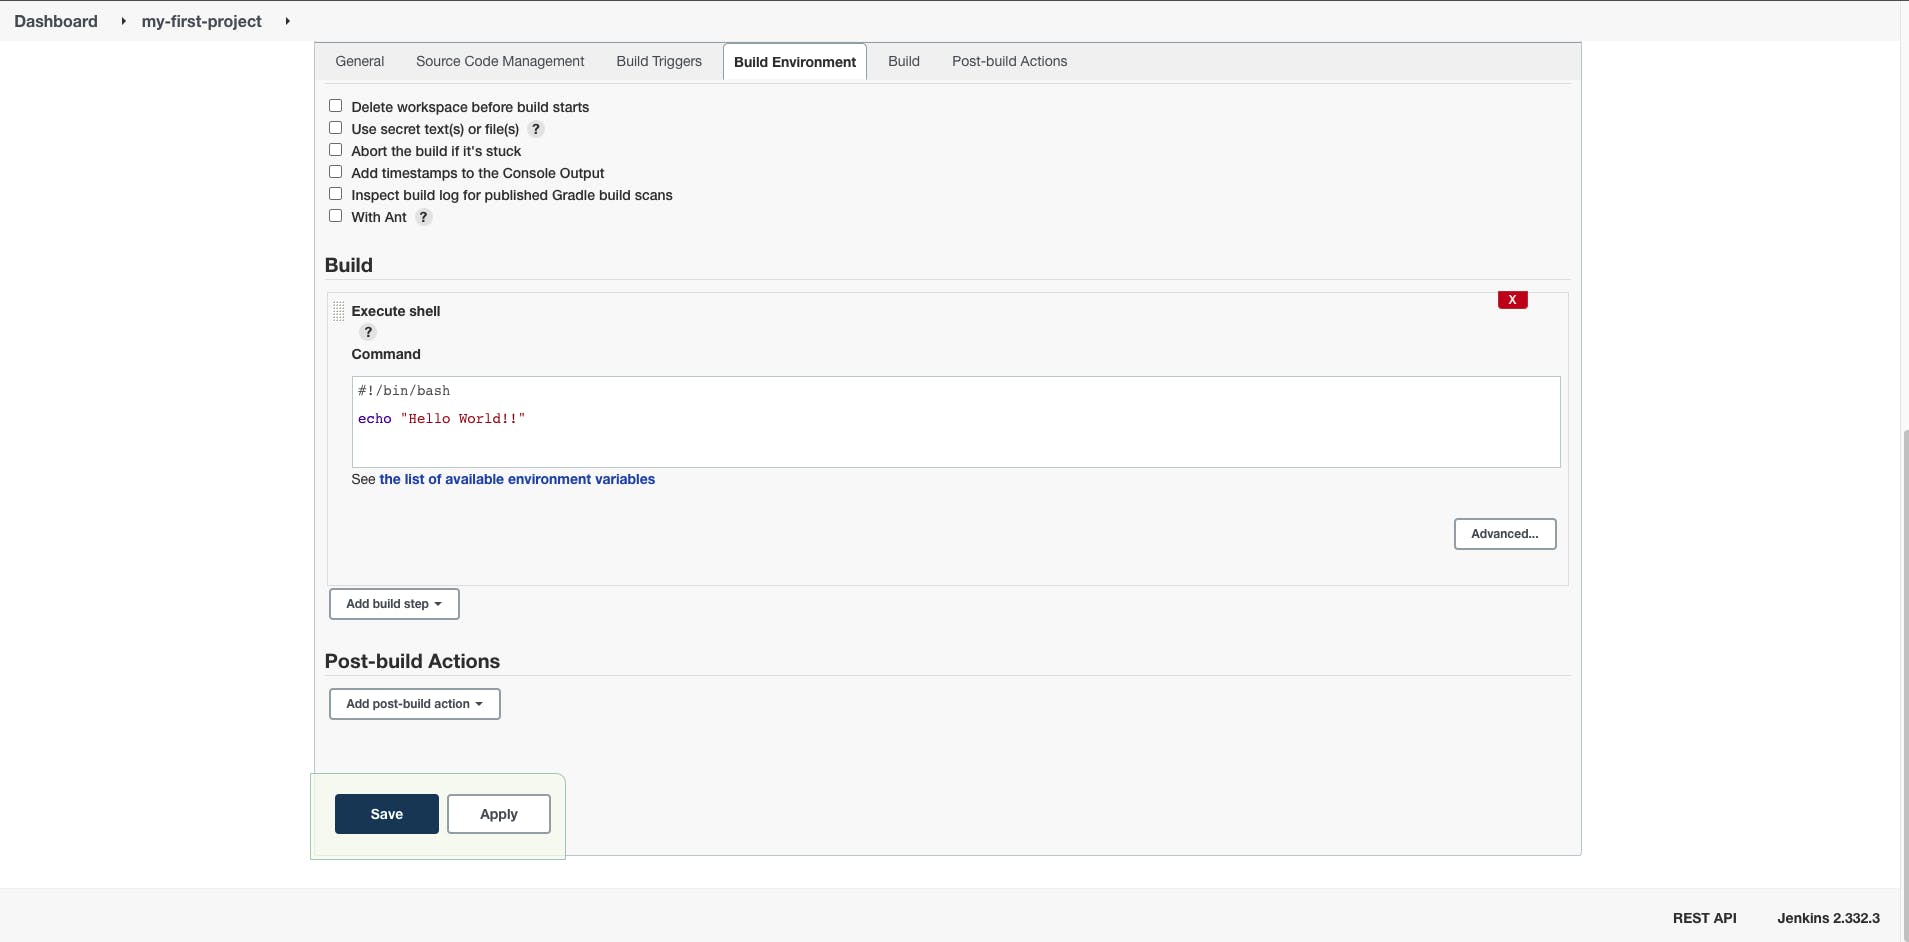
- Now your Job is ready to Run.
Running Jenkins Job
- You Can now see your job created from the Dashboard

- Navigate by clicking on the Job itself, and you see a number of options in the left-hand side panel.
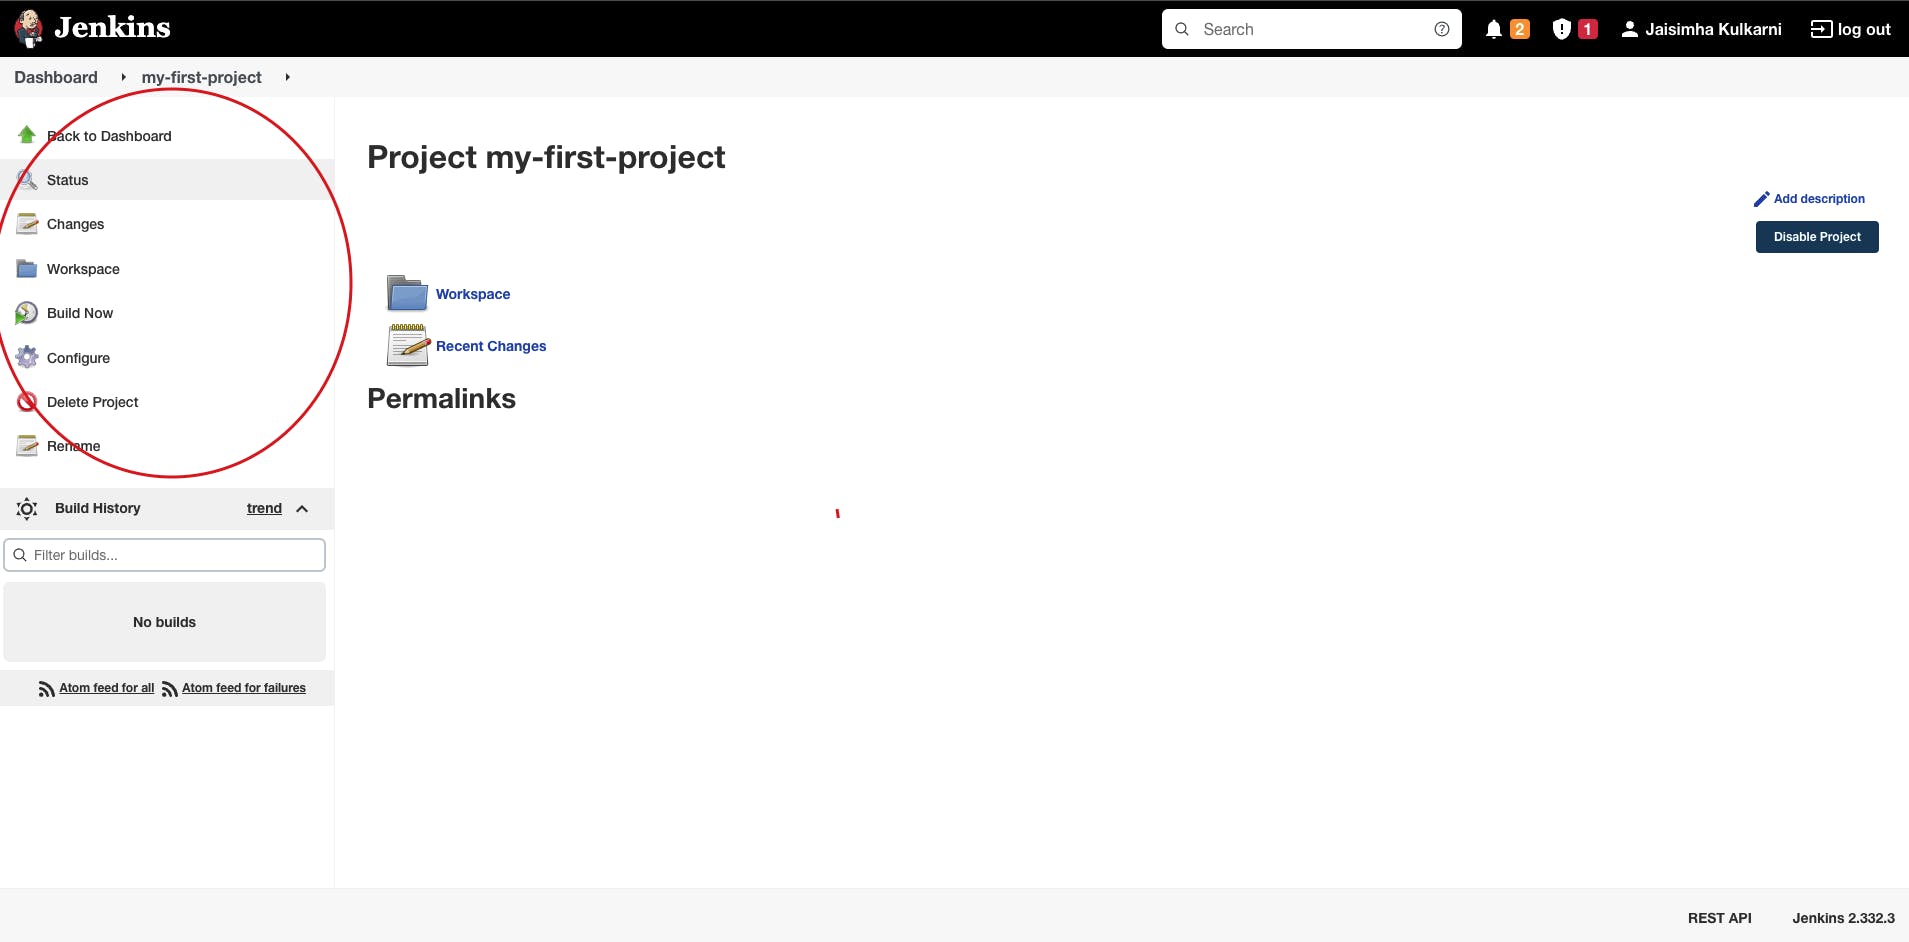
- Click on Build Now and your job starts, you can navigate to the job from the Build History section and can see the Console for results
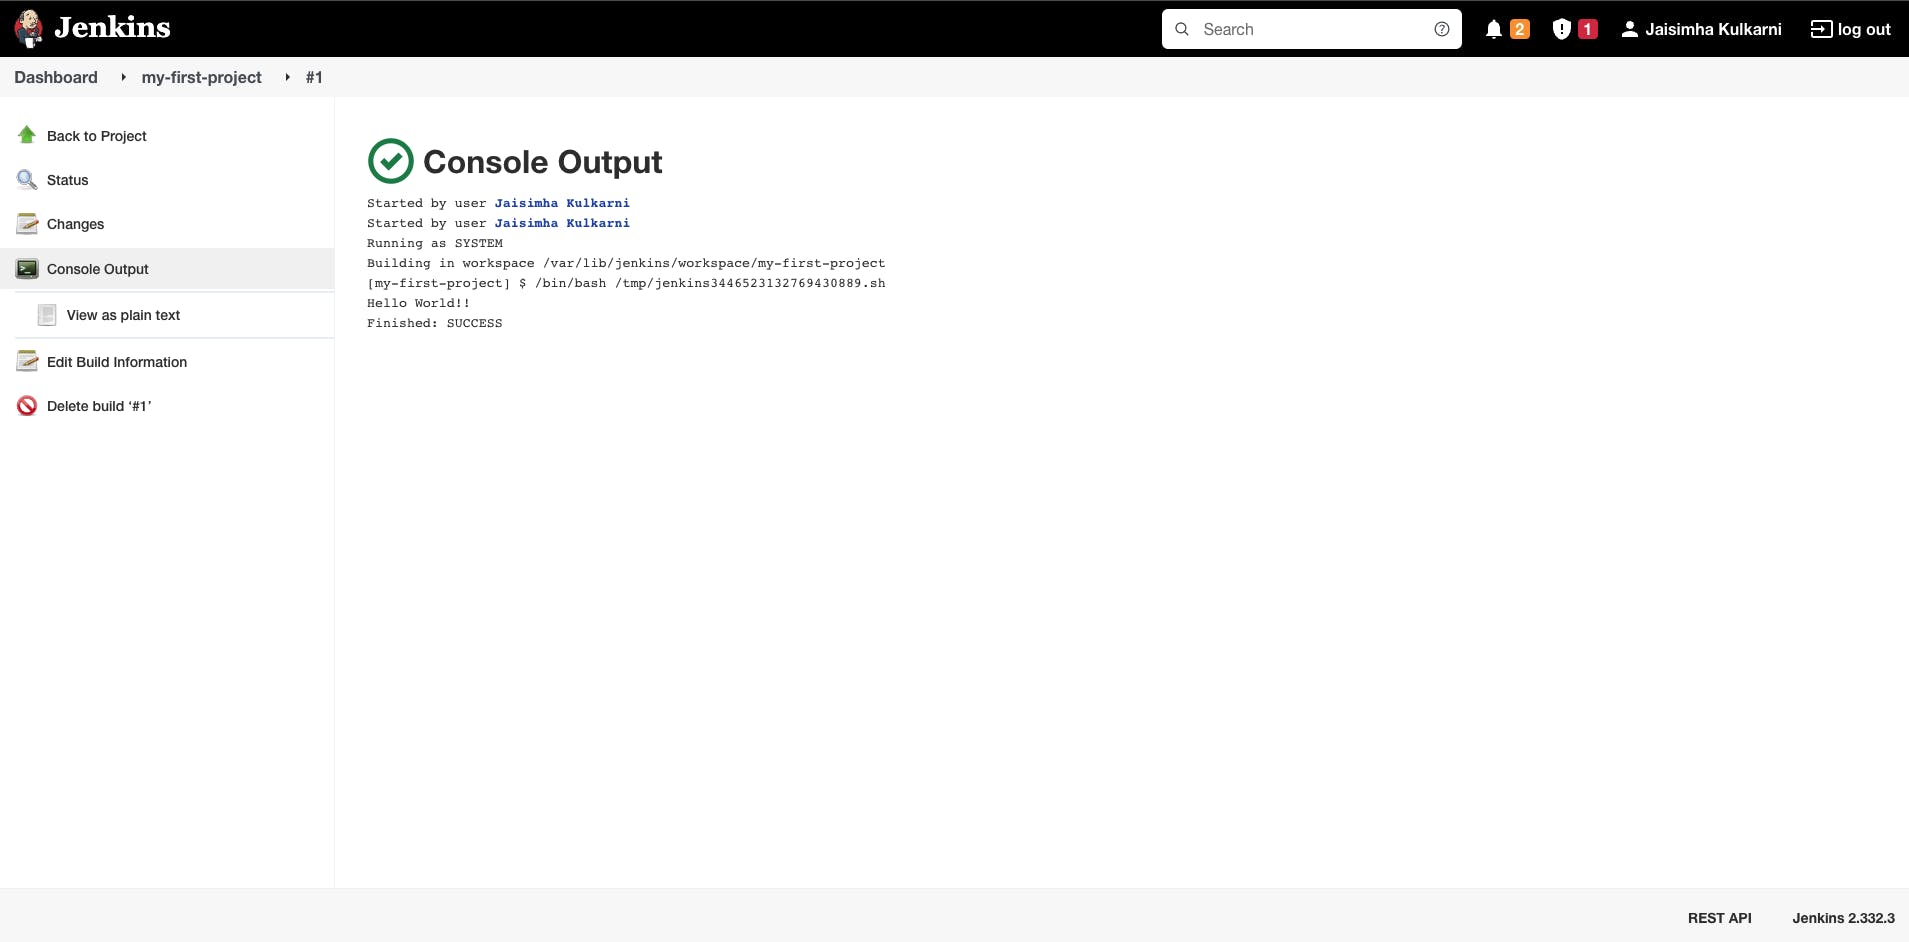
You see, the text Hello World!! printed. Congratulations on creating your first Jenkins job successfully.
For any queries or if you get any issues while creating the job, let me know in the comments I would be happy to help you. Happy Learning!